
First up, we need to update and upgrade our linux machine before downloading bsnes. Go ahead and open your terminal and type in the following;
					sudo apt-get update
sudo apt-get upgrade -y
Older versions of bsnes used to be built-in ubuntu’s package where you could simply install bsnes via the apt-get install bsnes command – however the program has since been removed and users wanting a snes emulator on Linux, should do so manually.
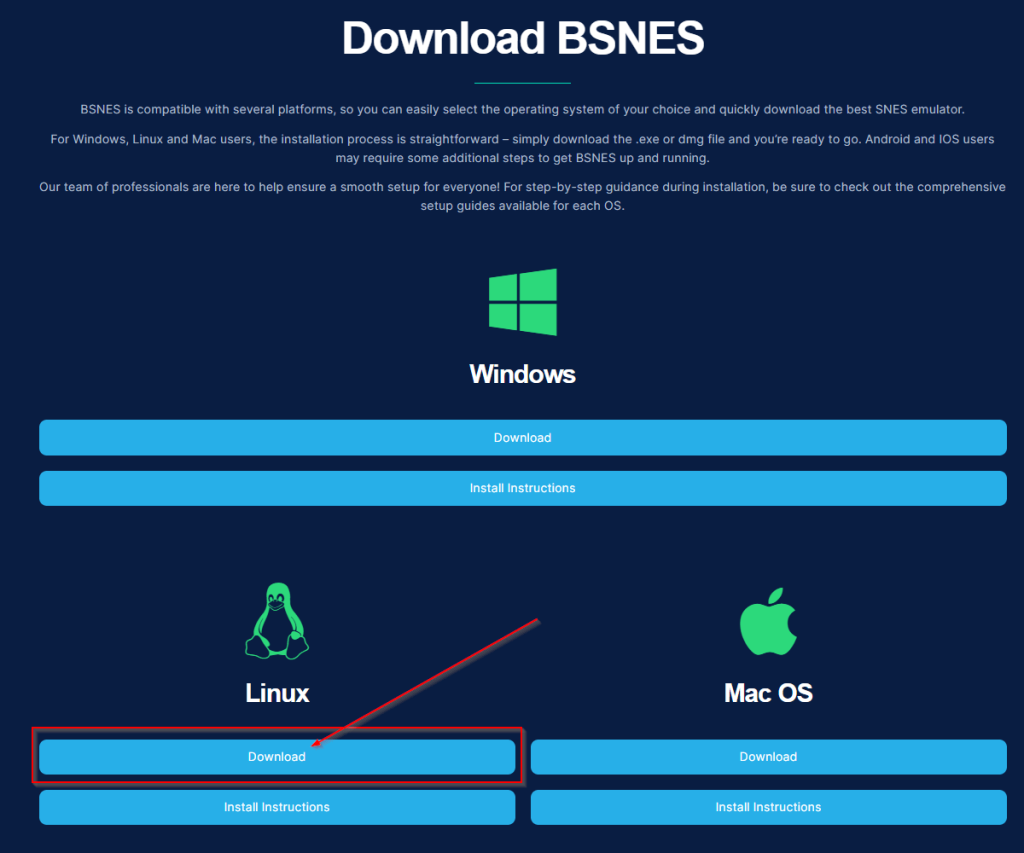
If you haven’t downloaded bsnes yet – click on the Download button in the top right hand corner or by visiting this link. Navigate to the linux section and click on download.
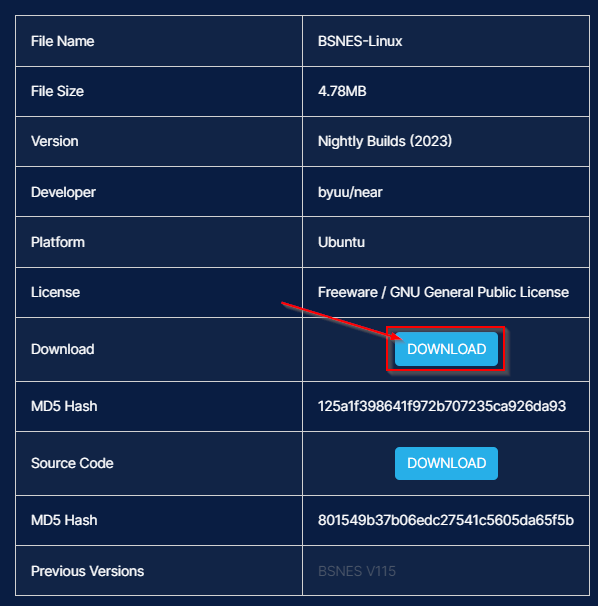
You should now find yourself on our bsnes for linux page. Here you can see the features bsnes has to offer as well as previews and download information. Click on the download button as shown below.
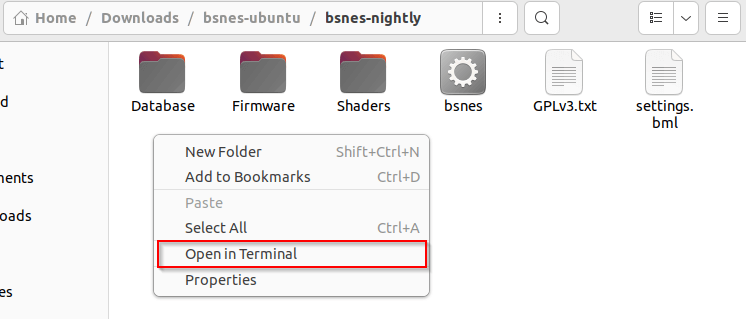
For a successful installation, take advantage of the powerful extraction tools available. Utilize 7Zip or Ubuntu’s own extraction tool by simply right-clicking and selecting ‘Extract Here…’.
To ensure optimal performance, make sure the file you choose to extract the program has read/write access enabled; we recommend Desktop, Documents or Downloads folders for this purpose.
Now run the following commands separately to install the required libraries for bsnes to work;
sudo apt install libsdl2-dev
sudo apt-get install libopenal-dev
sudo apt install libcanberra-gtk-module libcanberra-gtk3-module -y
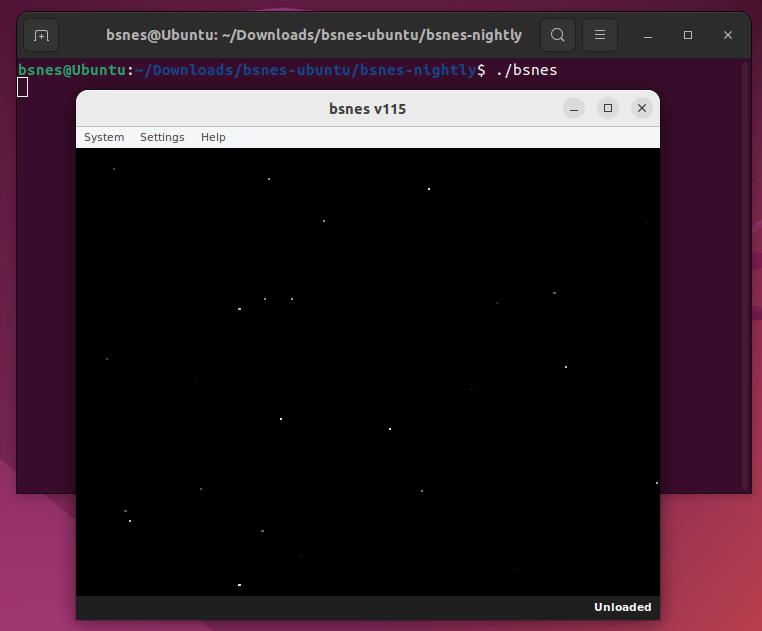
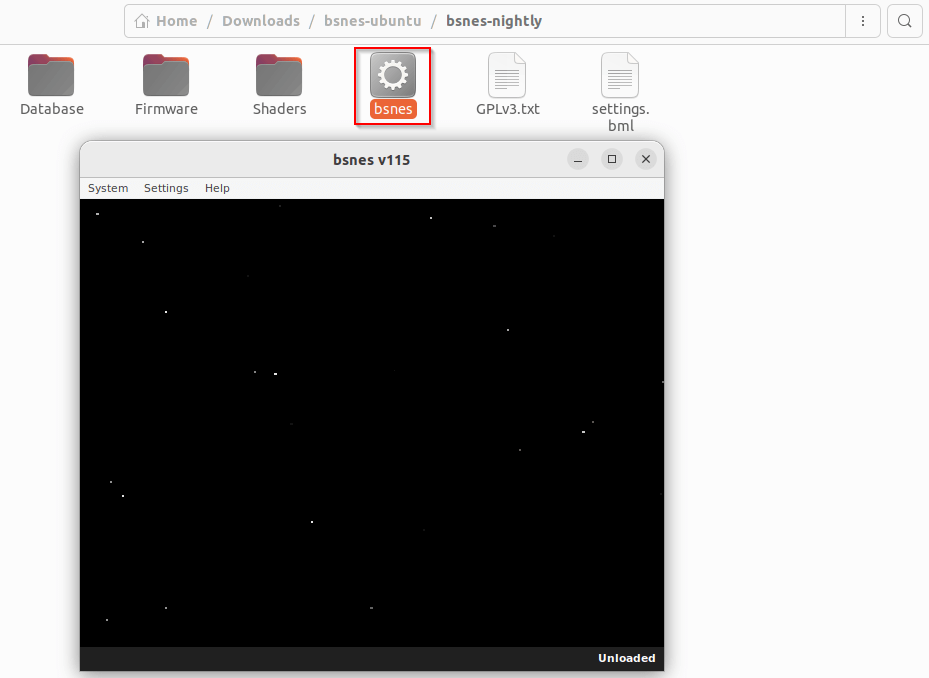
Now that we have installed the correct linux drivers we can launch bsnes via the terminal or double click on bsnes executable (with the gear icon).
./bsnes
After you have successfully completed the installation of BSNES, it is time to configure your very own Super Nintendo Entertainment System (SNES) emulator.
BSNES provides versatile options for customizing gameplay and making sure that your experience is tailored just for you. However, there are two key steps we need to take before getting ready to play classic Nintendo titles: configuring our controls and setting up our paths and downloading ROMs.
At BSNES, we have a comprehensive Knowledge Base filled with helpful information to help you unlock the full potential of bsnes (e.g. cheats, ROMS, glossaries). Our documentation boasts plenty of useful instructions and suggestions for getting the most out of your Super Nintendo emulation experience – plus, if you ever encounter any issues, our troubleshooting page can be an invaluable resource!
Stay up-to-date on all the latest news by following us across social media. You’ll find lots of useful tips and information about upcoming updates within the Super Nintendo emulation community!